Keep chicken feed dry outdoors by placing the feeder well inside a solid roof’s drip line, raising it above wet ground, using a covered weather-resistant design, and checking for dampness every day. A lid alone will not stop wind-driven rain, snowmelt, splashback, or condensation.
Best outdoor feeder location
- Under a solid roof, not merely hardware cloth or netting.
- Several feet inside the edge when prevailing wind drives rain sideways.
- On level pavers or a raised, washable platform.
- Away from roof valleys, downspouts, and runoff paths.
- Separate from waterers so splashing cannot reach the feed.
- Visible during daily checks and easy to move during severe weather.

Rain protection
Watch the site during an actual storm. Roof runoff may bounce from mud or pavers into a low tray, and water can follow a chain or bracket. Move the feeder inward, add a roof extension when structurally appropriate, and improve drainage so the ground slopes away from the feeding area. Never wrap a feeder so tightly that condensation is trapped inside.
Snow and freezing weather
Brush snow from the shelter before meltwater reaches the feeder. Keep entrances and treadles clear of ice, and do not use salt or deicers where chickens can ingest them. In severe weather, a smaller indoor feeder in a well-ventilated, dry coop may be safer than an exposed outdoor hopper—as long as it is not under a roost and does not obstruct movement.

How to recognize damp or spoiled feed
- Clumps that do not break apart normally.
- A musty, sour, or unusual odor.
- Discoloration, visible mold, or webbing from insects.
- Condensation inside the hopper.
- Feed bridging above the tray instead of flowing.
Discard questionable feed. Empty and clean the feeder according to its material and manufacturer directions, then let every surface dry completely before refilling. The feed storage guide covers bulk-feed moisture and rotation.
Match feeder design to exposure
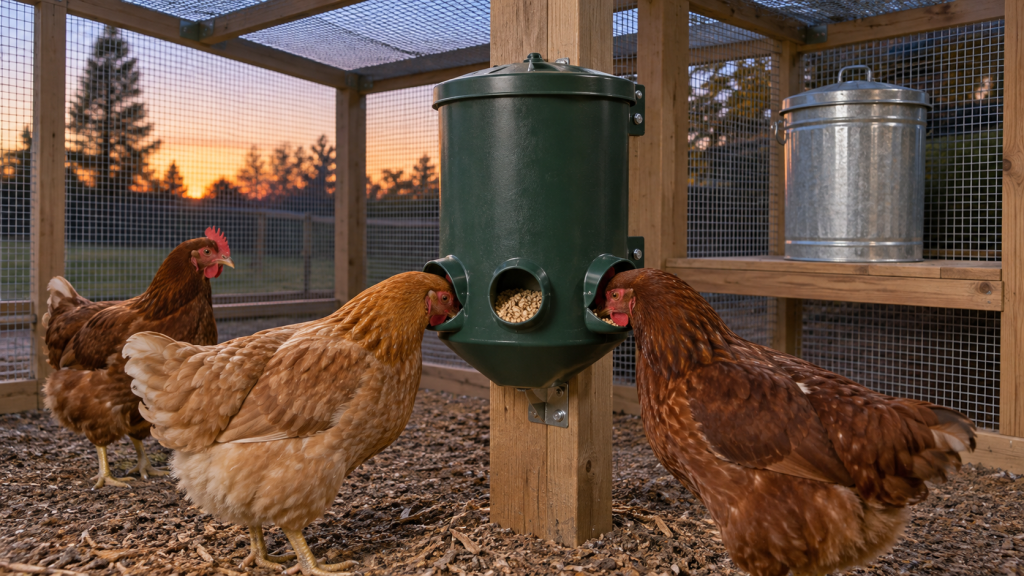
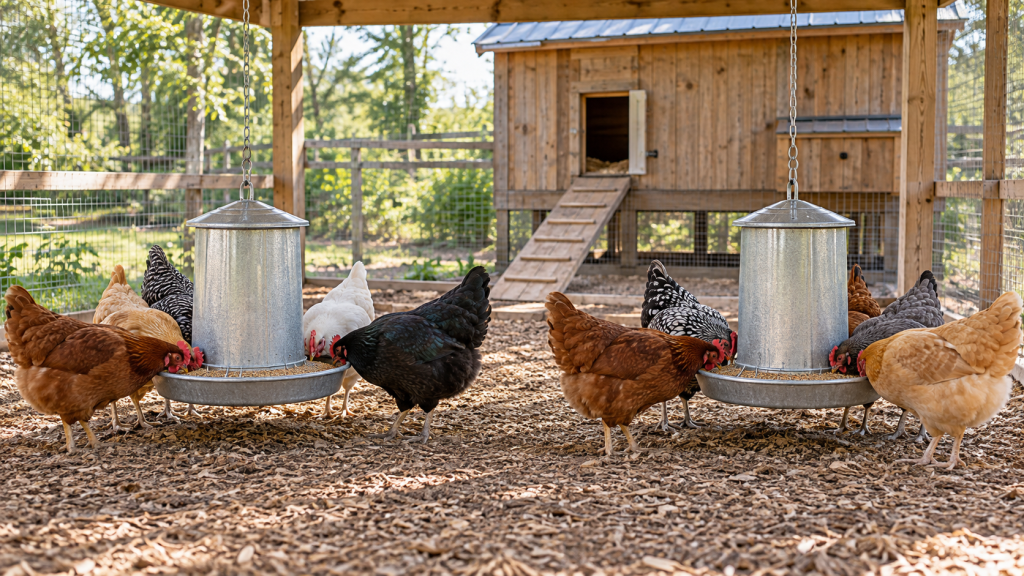
A deep rain hood and small access ports resist splash better than a broad open tray. A treadle feeder closes between visits but still needs shelter; moving parts can freeze if water reaches them. A hanging gravity feeder can stay dry under cover, but wind may swing it into rain or spill feed. See the complete chicken feeder guide and our treadle vs. gravity comparison.

After-storm checklist
- Feel feed at the bottom and around access ports.
- Look for roof drips, wet brackets, and splash marks.
- Clear snow or ice without damaging the lid or linkage.
- Discard damp feed rather than mixing it with fresh feed.
- Dry the feeder completely and correct the water path before refill.
Dry placement also helps with preventing feed waste and discouraging rodents and wild birds.
Control runoff before it reaches the feeder
A dry feeding station begins with the roof and ground. Direct gutters and downspouts away from the run, repair leaks, and maintain a surface that drains rather than holds puddles. An unstable pallet is not a safe stand; use level pavers or a purpose-built base that cannot tip when hens gather.
Prevent condensation inside the hopper
Warm humid air can condense on a cool lid even when rain never reaches the feeder. Avoid trapping damp feed under an improvised airtight cover. Refill during a dry period, never mix fresh feed into moist residue, and choose a capacity the flock will use while the ration is fresh. Check the underside of the lid and bottom corners.
Materials and maintenance
Galvanized metal is durable but can develop damaged seams or corrosion. Plastic resists rust but can crack at handles, ports, and mounting points. Inspect gaskets, hinges, chains, and brackets, and follow product directions for cleaning.
Safer wet-weather refill routine
- Carry only the amount needed in a covered container.
- Inspect remaining feed before topping up.
- Remove damp clumps and find their source.
- Keep the scoop and lid off wet ground.
- Close the feeder and return bulk feed to dry storage.
A dedicated green feed scoop makes measuring easier, but store it clean and dry.
Find the real source of moisture
A wet feeder does not always have a leaking lid. Water may travel along a hanger, splash upward from saturated ground, blow through an open run wall, or form as condensation when humid air meets a cold hopper. Inspect the feeding station during the weather that causes the problem, then correct the water path rather than adding another loose cover.
| Moisture source | Clue | Best correction |
|---|---|---|
| Roof drip or runoff | A wet stripe, splash marks, or water directly below an eave | Move the feeder farther inside the drip line; repair the roof or redirect the downspout |
| Wind-driven rain or snow | One side of the hopper, tray, or ports is damp | Relocate behind a solid wind break while preserving ventilation |
| Ground splash or standing water | Mud or droplets reach the lower tray | Improve drainage and use a stable, washable raised base |
| Waterer splash or leak | The wettest area faces the drinker | Separate the stations and repair or level the waterer |
| Condensation | Droplets form under the lid without an obvious leak | Dry the feeder, avoid sealing humid air inside, and use a smaller fresh-feed batch |
| Refill routine | Moisture appears after filling, especially around the scoop or lid | Use a clean dry scoop and carry feed in a covered container |
Build a dry outdoor feeding station
A solid roof should extend beyond the feeder on every exposed side. The required overhang depends on roof height and prevailing wind: the taller and more open the shelter, the farther rain can travel underneath it. Watch for roof valleys that concentrate water, and route gutters or downspouts away from the run instead of letting them empty beside the feeding area.
Set the feeder on level pavers, a stable stand, or a secure wall mount above splash height. The surrounding grade should carry water away. Do not balance a full hopper on loose blocks or a decaying pallet, and do not close an open-sided run with plastic so tightly that humidity and ammonia accumulate. A wind break should block direct weather without sacrificing the coop’s necessary ventilation.
How feeder type changes the weather plan
| Feeder style | Weather advantage | Common failure point | What to inspect |
|---|---|---|---|
| Hanging gravity feeder | Easy to raise above wet bedding | Wind can swing the pan into rain or spill feed | Hanger, height, lid fit, and stability |
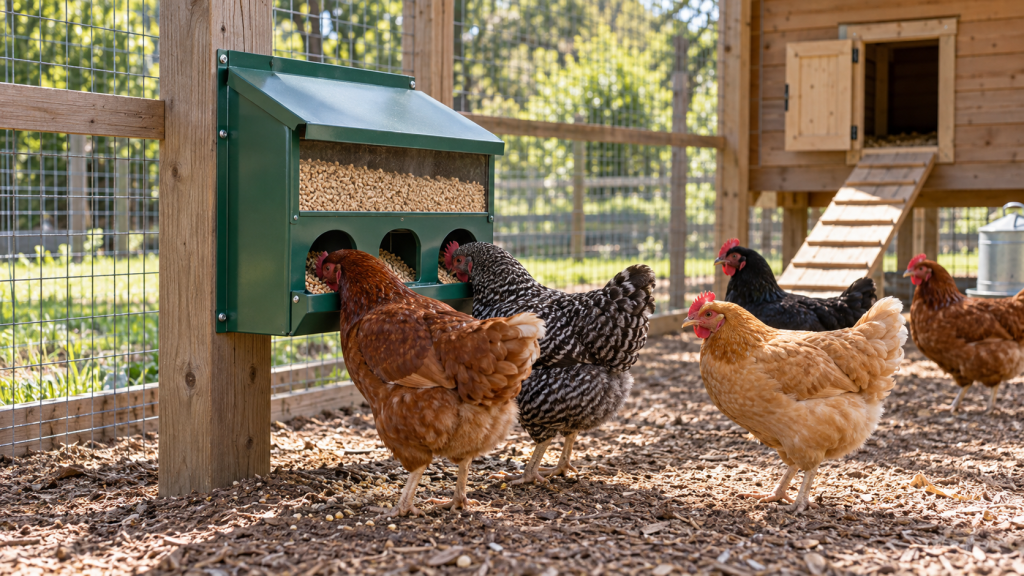
| Wall-mounted port feeder | Small openings limit exposed feed | Rain can enter ports or follow mounting hardware | Port edges, lower corners, wall runoff, and brackets |
| Treadle feeder | Feed closes between visits | Water or ice can bind the pedal and lid | Full linkage movement, lid closure, seams, and level footing |
| Open trough or cup | Easy to empty and relocate | Little protection from blown precipitation or splash | Contents at every check; move indoors during storms |
Weather resistance is not the same as weatherproofing. Follow the product’s outdoor-use instructions, and keep even a covered model beneath dependable shelter.
Rain, snow, and ice require different responses
Steady rain
Check the drip line and ground first. Move the feeder inward before the soil becomes saturated, and make sure the roof discharge cannot circle back toward the run. If water reaches the ration, remove all affected feed instead of topping it with dry pellets.
Wind-driven rain
Sideways rain can defeat a generous overhang. Use the protected side of a solid wall or temporarily relocate the feeder. Secure lightweight equipment so gusts cannot tip it, but never tie a cord or strap where a chicken can become entangled.
Wet snow and thaw cycles
Remove accumulating snow from around openings and moving parts. Recheck during a thaw because meltwater can travel beneath a lid or refreeze in a treadle mechanism. Never force a frozen linkage; move the feeder to a dry place, thaw and dry it safely, and verify normal operation by hand.
Flooding or severe storms
Relocate the feed and feeder before water enters the run. A temporary indoor station can work in a dry, well-ventilated coop if it is away from roost droppings and does not block birds from moving. For broader preparation, use the complete winter chicken care guide and our winter storm and power outage checklist.
Inspect more than the feed on top
Fresh-looking feed near the lid can hide damp material below. With clean dry hands, inspect the tray or ports, hopper walls, bottom corners, seams, and the underside of the lid. Confirm that pellets or crumbles flow freely. Bridging, caking, a musty odor, unusual warmth, discoloration, insects, or visible mold means the ration should not be fed.
Do not scoop off the wet layer, dry questionable feed for reuse, or blend it into a new bag. Utah State University Extension recommends removing moldy, rancid, or otherwise questionable feed and protecting feeders from moisture. When in doubt, discard the affected ration where chickens, pets, wildlife, and rodents cannot reach it.
Clean and dry the feeder before refilling
- Empty contaminated or damp feed into a closed disposal container.
- Disassemble only as the manufacturer permits, paying attention to trapped residue at seams and ports.
- Brush away fines and wash or sanitize according to the product directions.
- Rinse when required and allow every component to dry completely.
- Correct the leak, splash, drainage, or condensation problem before adding fresh feed.
- Test the lid, hanger, ports, or treadle mechanism before returning the feeder to the flock.
Do not use an unlabeled chemical or a harsh cleaner simply because it is available. Plastic can crack around handles and mounting holes, while damaged galvanized metal can corrode at seams and fasteners. Replace a component that cannot be cleaned, dried, and secured reliably.
Use a dry storage-to-feeder routine
Penn State Extension advises keeping poultry feed in a dry, dark container and buying an amount that can be used while it remains fresh. Keep the main supply indoors or in a dry storage area, tightly closed against moisture and pests. Label the container with the feed type and purchase date, rotate older feed first, and clean spills around it.
Carry the day’s refill in a covered container. Use one dedicated scoop, keep it off wet ground, and do not return leftover feed from an outdoor feeder to the bulk bin. A smaller hopper filled more often is safer than a large hopper that holds weeks of feed through repeated temperature swings.
Outdoor feeder inspection schedule
| When | What to check |
|---|---|
| Every morning | Feed smell, texture, flow, lid position, spilled feed, and access for every bird |
| During or after precipitation | Drips, splash marks, wet hardware, port edges, ground drainage, and wind exposure |
| After a freeze or thaw | Ice in hinges or treadles, snowmelt paths, cracked plastic, and loose mounts |
| At each refill | Bottom corners, stale fines, condensation, insects, and damage hidden by feed |
| Weekly | Roof, gutters, stand, fasteners, seals, corrosion, and the complete feeding area |
Troubleshoot common outdoor feeder problems
| Symptom | Likely cause | Next step |
|---|---|---|
| Feed clumps only near an opening | Wind-driven rain or splash | Move the feeder inward and shield the exposed side |
| Droplets under the lid | Condensation or a wet refill | Empty and dry the feeder; reduce batch size and trapped humidity |
| Feed stops flowing | Caking, bridging, or a blocked port | Discard questionable feed and clean the passage; do not poke blindly while birds are present |
| Rust at a seam | Repeated moisture or damaged coating | Follow manufacturer guidance and replace unsafe components |
| Treadle will not close | Ice, debris, an uneven base, or damaged linkage | Remove it from use until it moves freely and closes correctly |
| Musty odor without visible mold | Moisture or stale residue lower in the hopper | Discard the feed, clean and dry the unit, and locate the water source |
Frequently asked questions
Can I leave a chicken feeder outside all winter?
Only if the model is suitable for outdoor use, remains under solid cover, operates freely, and is checked daily. Move it during severe wind-driven weather when necessary.
Is slightly damp feed safe after it dries?
Do not try to rescue damp complete feed. Moisture can permit spoilage before visible mold appears.
Should I put a feeder directly on the ground?
No. Use a stable raised surface or proper hanging height to reduce mud, bedding, splashback, and tipping.