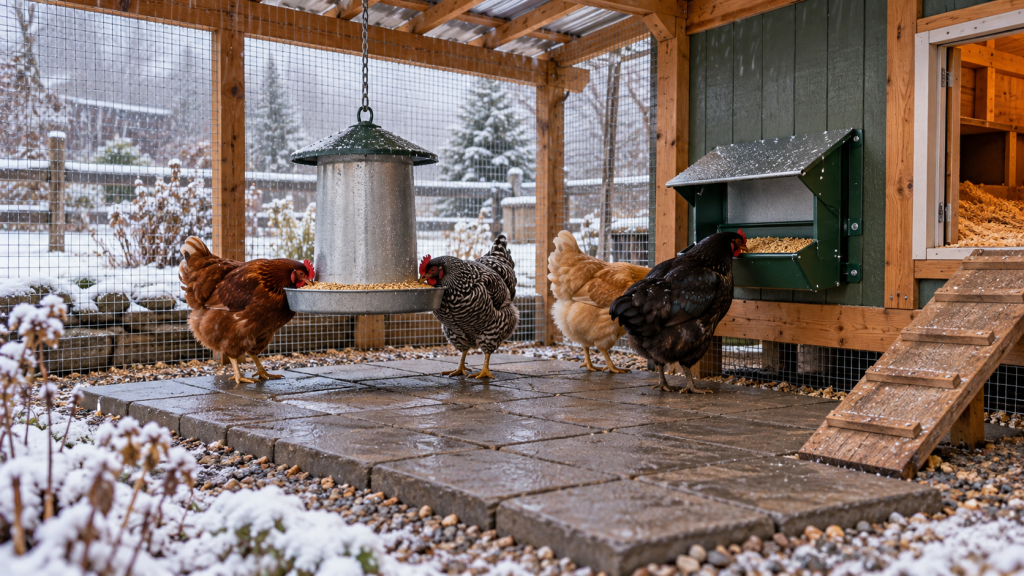
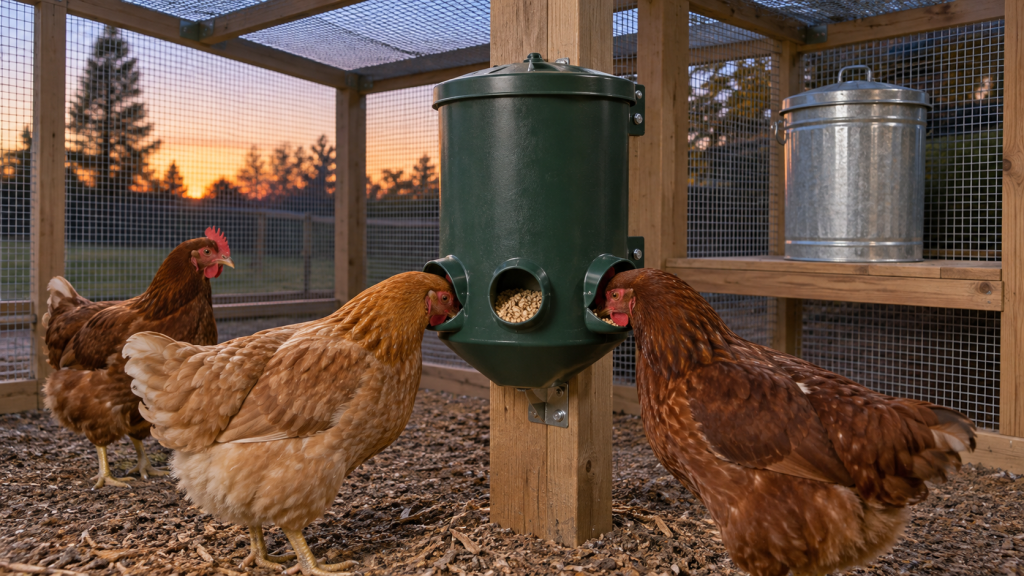
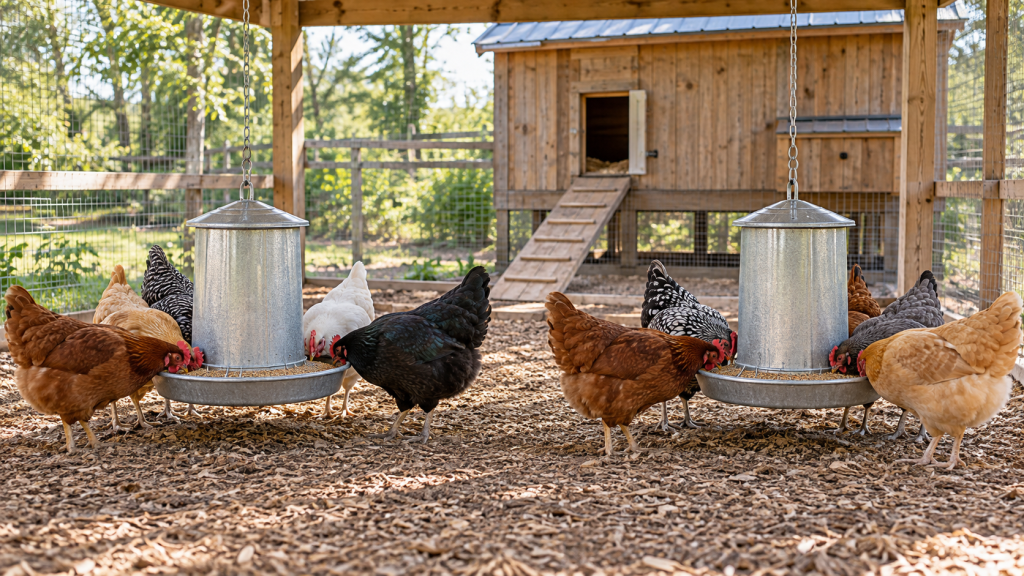
Train chickens to use a treadle feeder in stages: first secure the lid fully open, then introduce a little movement, and finally allow the pedal to operate normally. Never remove the old feeder until you have watched every hen eat from the new one.
Read the manufacturer’s instructions before changing springs, counterweights, bolts, or training positions. The following method is for healthy adult birds that meet the feeder’s weight requirements—not chicks or birds with mobility problems.
Before training begins
- Put the feeder on firm, level pavers under a roof.
- Confirm the pedal, linkage arms, hinges, and lid move freely and cannot trap a foot or head.
- Place it where the flock already feels safe eating.
- Use the birds’ normal complete feed; do not lure them with a ration-changing quantity of treats.
- Keep a second feeder available for birds that have not learned.

Three-stage treadle training plan
Stage 1: lid fully open
Use the feeder’s approved training setting to hold the lid open without pedal movement. Let the birds approach on their own. Do not push a hen onto the plate or repeatedly drop the lid near her. Continue until every bird eats calmly from the trough.
Stage 2: introduce partial movement
Set the mechanism to the intermediate position described by the manufacturer. The lid should move only a small amount when a bird steps on or off. Observe from a distance and be ready to return to the prior stage if a timid hen stops eating.
Stage 3: normal operation
Enable full operation only after all hens readily stand on the pedal. Watch several complete open-and-close cycles. Confirm the lightest bird can activate it, the lid does not slam, and no dominant hen blocks the exit.

How long does training take?
Confident hens may learn quickly, while cautious birds can need several days or longer. Progress is not a race. Weather changes, a predator scare, flock integration, or moving the feeder can make birds hesitant again. Return to the last successful stage rather than withholding food.
Troubleshooting
| Problem | Check | Response |
|---|---|---|
| Hen avoids the plate | Noise, wobble, reflective surface | Stabilize the unit and return to fully open training |
| Light hen cannot open it | Minimum operating weight | Use an approved adjustment or a different feeder |
| One hen guards the trough | Single access point | Keep a separate feeding station out of her sightline |
| Lid closes harshly | Assembly, debris, adjustment | Stop use and consult the instructions |
| Feed gets wet | Roof runoff and splashback | Move it farther under cover and raise it on pavers |

After the flock is trained
Inspect the mechanism daily, remove spilled feed, and verify every hen’s crop and body condition remain normal. A feeder is a management tool, not a substitute for observation. Compare other designs in treadle feeder vs. gravity feeder and review the full chicken feeder guide.
How to tell every hen is ready
Do not judge training by the boldest bird. Check off each hen only after you see her step onto the plate, stay balanced while the lid moves, eat calmly, and step away without panic. Watch at different times because a lower-ranking hen may wait until dominant birds leave. A bird that hangs back, loses condition, or stops eating needs her own accessible station and a health assessment—not a more forceful lesson.
Reduce fear and manage flock dynamics
Metal can flash in sunlight or sound different underfoot. Keep the unit in one location, stabilize wobble, and avoid other major changes during training. If the lid clangs or drops abruptly, stop and correct the assembly using the manufacturer’s directions. Do not add improvised ropes or weights that interfere with safe closure.
Place the backup feeder beyond the dominant hen’s direct sightline. Two stations side by side may still act like one guarded resource. Provide clear approach and exit routes so a timid bird cannot be cornered.
Example transition log
| Stage | Setting | What to record |
|---|---|---|
| 1 | Fully open | Which birds eat and whether anyone startles |
| 2 | Slight movement | Confidence, noise, and plate stability |
| 3 | Intermediate | Each bird’s step-and-eat cycle |
| 4 | Normal | Access, closing action, spills, and intake |
These are stages, not deadlines. Stay at each one as long as the flock needs.
Repeat a brief observation after cleaning, moving, or adjusting the feeder because those changes can make a familiar mechanism feel new.
Understand what the chicken is learning
A treadle feeder asks a hen to make three associations: the metal or plastic plate is safe to stand on, her weight causes the lid to move, and remaining on the plate keeps the trough available. Bold birds may learn those steps quickly. Cautious, older, or lower-ranking hens may need repeated calm experiences before movement and sound stop feeling threatening.
Training succeeds through gradual exposure, not hunger. Keep the former feeder available until every bird is competent, and use the same complete ration in both. Treats tossed on the pedal can encourage pecking at the floor without teaching the bird to stand and eat; they can also unbalance the diet if used heavily.
Confirm the flock is ready before installation
| Readiness check | Ready to begin | Delay or provide another feeder |
|---|---|---|
| Age and size | Bird meets the model’s operating requirements | Young chick or bird too light to activate it |
| Mobility | Can step up, balance, and back away normally | Limping, weakness, poor balance, or foot pain |
| Vision and confidence | Approaches familiar feed calmly | Visual impairment or severe fear of the mechanism |
| Flock stability | Established group with normal feeding behavior | Active integration, severe bullying, or recent predator scare |
| Keeper availability | Someone can observe daily during transition | No reliable supervision or backup access |
Do not use an adult treadle feeder around chicks that can enter the trough while a heavier bird controls the lid. Use an age-appropriate chick feeder until every bird can operate the mechanism safely.
Set up the training environment correctly
- Read the exact manual: training bolts, lock positions, weight settings, and timing vary by model.
- Choose the final location: moving the feeder later can make cautious birds retrain to the new surroundings.
- Use a flat, solid base: extend pavers beneath the entire feeder and treadle so nothing rocks.
- Provide shelter: keep rain, snow, and roof runoff away from the trough and mechanism.
- Clear both sides: remove obstacles that let birds reach the feed without standing correctly or that trap a bird during exit.
- Test by hand: operate the plate and lid repeatedly, listening for scraping and checking that linkages remain unobstructed.
- Fill enough to dampen noise: use the amount recommended by the manufacturer while keeping the ration fresh.
The Grandpa’s Feeder manufacturer, for example, describes two training settings: the lid is locked fully open first, then allowed to close partway before normal operation. Their published example uses about one week at each training setting, but the birds’ behavior—not a calendar deadline—determines when to advance.
A practical progression with pass-or-repeat criteria
| Stage | Feeder behavior | Advance only when | If birds hesitate |
|---|---|---|---|
| Acclimation | Lid fully open; no plate or lid movement | Every hen stands and eats calmly | Check stability, glare, noise, and social pressure |
| Partial movement | Approved intermediate setting | Every hen tolerates motion through several meals | Return to fully open and add time |
| Normal operation | Plate opens and closes the trough fully | Every hen independently completes the cycle | Restore the prior setting and inspect mechanics |
| Post-training | Normal operation without backup dependence | Access, intake, and body condition remain normal | Reintroduce an accessible backup and diagnose |
Some models describe this as two stages, while this guide separates final operation as a third observational stage. Never invent a half-open setting if the manufacturer does not provide one.
Track individual birds instead of the flock average
Make a simple checklist using leg-band colors, names, or physical descriptions. For each bird, record the first calm approach, first full meal at the open setting, first tolerated lid movement, and first independent use in normal mode. Observe early and late in the day because lower-ranking hens may avoid peak feeding time.
| Bird | Eats with lid open | Tolerates movement | Uses normal mode | Notes |
|---|---|---|---|---|
| Hen 1 | Yes/No | Yes/No | Yes/No | Confidence, displacement, or mobility |
| Hen 2 | Yes/No | Yes/No | Yes/No | Time of day and duration |
| Continue for every bird | — | — | — | Do not infer from the boldest hen |
Continue measuring the amount of feed used. A sudden reduction can mean birds are being excluded even when the feeder appears to work. Check body condition and normal behavior, and investigate a hen that becomes quiet or loses weight.
Help timid and lower-ranking hens safely
A timid hen may stand beside the feeder and eat only while another bird holds the lid open. That demonstrates interest in the feed, but it does not prove she can operate the treadle. Remove side-access opportunities only in ways specifically allowed by the manual, and preserve an easy escape path.
Place the backup feeder behind a visual barrier or far enough away that a dominant hen cannot guard both stations. If bullying is severe, address flock integration and space before continuing. Training during active social conflict makes it difficult to tell whether the bird fears the mechanism or another hen.
Troubleshooting by symptom
| Symptom | Likely issue | Response |
|---|---|---|
| Bird steps beside the plate | Side access, uncertain footing, or guarding | Use the approved setup, stabilize the base, and separate stations |
| Bird jumps when the lid moves | Progressed too quickly or mechanism is noisy | Return to the previous stage and inspect operation |
| Light bird cannot open it | Below operating weight or incorrect approved setting | Consult the manufacturer; provide another feeder |
| Lid stays partly open | Debris, feed, ice, bent linkage, or poor leveling | Stop use, clean and inspect before resuming |
| Bird stands on plate but will not lower her head | Trough depth, shadows, glare, or prior fright | Return to full-open acclimation and allow more time |
| Only dominant hens use it | Resource guarding or inadequate access | Add a separate station and reassess flock dynamics |
| Feed use drops sharply | Blocked access, bridging feed, or illness | Provide immediate accessible feed and diagnose the cause |
Stop training and correct the setup when
- A foot, toe, head, or feather can be caught by the moving parts.
- The feeder rocks, slides, or tips when a bird steps on it.
- The lid slams, scrapes, binds, or fails to close consistently.
- A bird cannot maintain balance or appears painful on the plate.
- A hen has not eaten normally or is losing condition.
- Water, snow, litter, or feed obstructs the mechanism.
- The required adjustment is not described in the manufacturer’s instructions.
Do not keep experimenting while birds depend on a malfunctioning feeder. Restore easy access to feed and resolve the mechanical or health issue first.
Training newly added chickens later
A single new hen may learn by watching experienced flockmates, but observation is still required. A completely new group should repeat the training program. After a long period without use, a major relocation, or a frightening equipment failure, return to an earlier stage until the flock is calm again.
Integration can increase guarding even when the mechanism is familiar. Keep another feeding station during the social transition and use the capacity guidance in how many chicken feeders a flock needs.
Post-training inspection routine
Every day
- Watch at least one complete open-and-close cycle.
- Confirm every bird can eat and the trough contains dry, clean feed.
- Remove spills and debris from beneath the pedal.
- Check that the unit remains level and stable.
Every week
- Inspect hinges, linkage arms, bolts, guards, and lid alignment.
- Remove fines or old feed according to the manual.
- Check for corrosion, sharp edges, gnawing, and weather intrusion.
- Reassess birds whose weight, mobility, or social rank has changed.
For a My Favorite Chicken product example and ownership considerations, see our Grandpa’s Chicken Feeder review. The training hardware and sequence described for one brand should not be assumed to apply to every treadle feeder.
Frequently asked questions
Can I take the old feeder away to make them learn?
No. Never use hunger as a training method. Keep safe access to complete feed until every bird is competent.
Can chicks use a treadle feeder?
Use an age-appropriate chick feeder. Adult treadles may not open for chicks and moving lids can create hazards.
What if only one hen refuses?
Give her a separate station and assess vision, mobility, social pressure, and health. A sudden loss of appetite warrants closer evaluation.