A chicken health check should begin with quiet observation and then follow the same head-to-toe order every time: behavior and breathing, weight and body condition, head and mouth, feathers and skin, crop, abdomen and vent, wings, legs, and feet. A repeatable routine helps you notice changes early, record useful details, and decide whether the bird needs isolation or veterinary care.
This guide is for routine screening and careful documentation—not home diagnosis. If a chicken has severe breathing difficulty, uncontrolled bleeding, collapse, seizures, head trauma, an open fracture, or profound weakness, skip the full examination and use our cornerstone Chicken First Aid emergency guide while arranging professional help.
Why Routine Chicken Health Checks Matter
Chickens often mask illness until a problem is advanced. The most useful comparison is not a generic picture of a “perfect” hen; it is that bird’s normal behavior, appetite, weight, posture, comb, droppings, egg pattern, and social role. Brief daily observation plus a hands-on check at regular intervals gives you both kinds of information.
- Daily: watch the flock move, eat, drink, breathe, dust-bathe, roost, and interact.
- Weekly or biweekly: handle birds that tolerate it, especially individuals with previous health concerns.
- Monthly: record weight or body-condition trends, examine feet and skin, and inspect for external parasites.
- At seasonal transitions: check before heat, cold, molt, breeding, transport, or flock integration adds stress.
- Any time something changes: examine promptly after appetite loss, abnormal droppings, egg changes, limping, isolation, feather loss, or reduced activity.
Frequency should match the flock. Older birds, heavy breeds, feather-footed chickens, recovering hens, and birds with chronic problems may need closer checks. Our daily, weekly, and monthly chicken-care checklist helps integrate individual exams with flock and coop maintenance.
Prepare a Calm Examination Station
Choose a bright, quiet animal-care area with a nonslip surface. Have supplies arranged before catching the bird so handling stays brief. Wear clean clothes and dedicated footwear, wash your hands, and use disposable gloves if you may contact droppings, discharge, blood, or a suspected contagious condition.
- Digital platform or hanging scale appropriate for the bird
- Ventilated carrier or secure low crate
- Clean towel for controlled restraint
- Small flashlight
- Disposable gloves
- Notebook or flock-record app
- Phone camera for repeatable photographs
- Sterile gauze and saline for an unexpected minor injury
- Separate bag or container for used materials
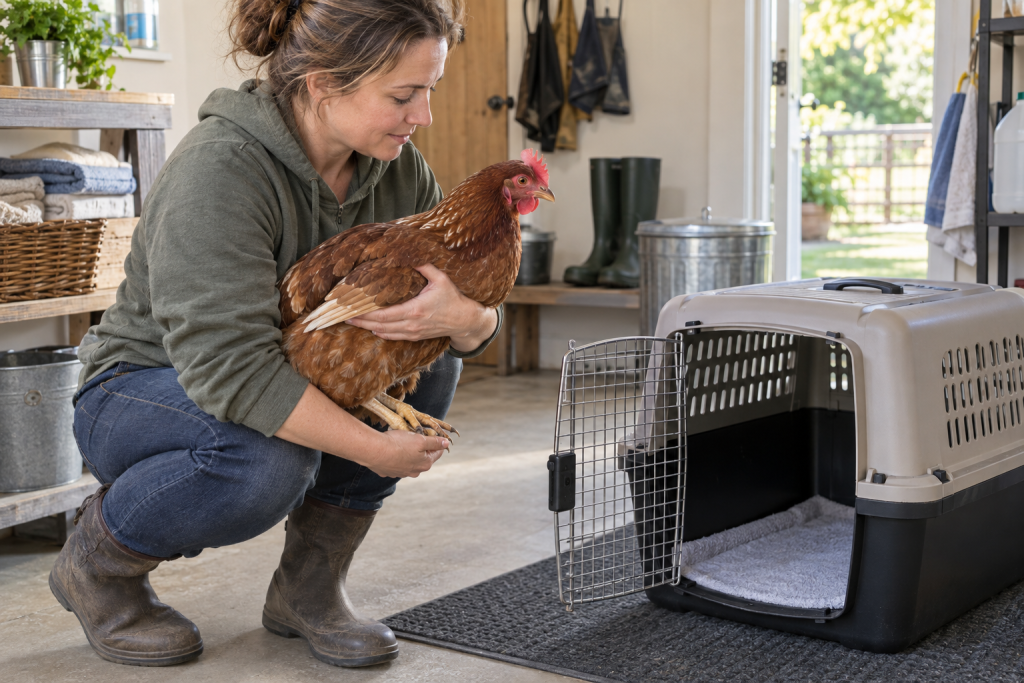
The My Favorite Chicken Poultry First Aid Kit keeps basic examination and first-response supplies together. A large ventilated poultry pet carrier is also useful when an examination reveals a problem that requires safe isolation or veterinary transport.

Step 1: Observe Before Handling
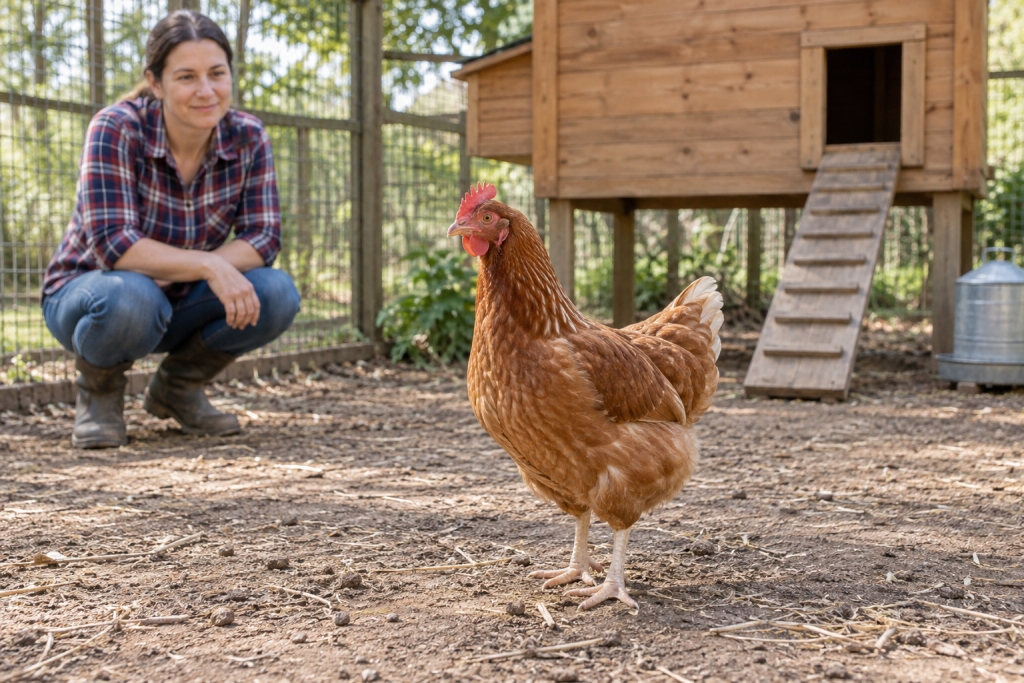
Watch the chicken within the flock first. Handling changes breathing, heart rate, posture, and behavior, so the unrestrained view is often the most informative part of the check. Stand quietly for several minutes and compare her with flockmates under the same conditions.
- Is she alert and responsive to normal flock activity?
- Does she walk evenly and bear weight on both feet?
- Are both wings carried symmetrically?
- Is the neck held normally without twisting or drooping?
- Does she reach food and water and swallow normally?
- Is she being bullied, excluded, or repeatedly hiding?
- Does breathing appear quiet and effortless without tail bobbing or open-mouth breathing?
- Are droppings and recent egg production consistent with her normal pattern?
Merck Veterinary Manual recommends observing a backyard bird from a distance before the physical exam. Use our broader guide to how to tell if a chicken is sick when behavior, posture, respiration, appetite, or flock interaction has changed.

Step 2: Catch and Hold Safely
Move slowly and avoid a prolonged chase. Once caught, fold both wings gently against the body, support the feet and body weight, and keep the chicken upright. Never suspend a chicken upside down for an examination and never squeeze the chest; birds must move the breastbone to breathe.
Work efficiently and pause if the bird develops open-mouth breathing, marked struggling, weakness, or color change. A second adult can record findings and provide supplies while the first maintains safe support. The upcoming catch, restraint, and transport guide covers handling in greater detail.
Step 3: Record Weight and Body Condition
Weight is most useful as a trend for the same bird, measured on the same scale at a similar time of day. Breed, sex, age, crop fill, egg status, and individual size all affect the number, so do not rely on a generic target weight. Record the date, weight, and whether the crop was empty or full.
Feel the breast muscles on both sides of the keel bone. In balanced condition, the keel is palpable but the breast muscles have substance. A sharper, more prominent keel with reduced muscle suggests weight or muscle loss; excessive padding can make the keel harder to feel. Compare with the same bird’s earlier records and follow our guide to checking chicken weight and body condition.

Step 4: Check the Head, Comb, Eyes, Nostrils, and Beak
Use good light and compare both sides. Normal color and comb size vary with breed, laying status, age, molt, weather, and individual baseline. Look for a meaningful change rather than treating one shade or texture as universally normal.
- Comb and wattles: note swelling, wounds, scabs, frost damage, unusual paleness, or blue-purple discoloration.
- Eyes: both should open normally; watch for swelling, cloudiness, injury, bubbles, or discharge.
- Nostrils: look for crusts, discharge, blockage, or facial swelling.
- Beak: check alignment, cracks, overgrowth, injury, and whether the bird can pick up feed.
- Ears and face: compare sides for swelling, debris, wounds, or asymmetry.
- Mouth: only if the bird is calm, briefly inspect for plaques, ulcers, foreign material, string, foul odor, or abnormal color; do not pull attached material.
Eye or facial swelling, nasal discharge, sneezing, gasping, or increased respiratory effort should prompt separation and veterinary advice. Review respiratory illness in chickens, and do not place your face close to the beak of a sick bird.

Step 5: Examine Feathers, Skin, and External Parasites
Part feathers at the neck, under the wings, along the back, around the tail, and near the vent. Look at the skin and feather bases rather than judging only the outer plumage. Normal molt, rooster wear, broodiness, flock pecking, parasites, and illness can all cause feather changes, but the pattern and skin condition differ.
- Check for wounds, bruising, redness, scabs, broken blood feathers, swelling, or exposed skin.
- Look for moving mites or lice, pale egg clusters attached to feather shafts, dark debris, and irritated skin.
- Note feather quality, symmetry, breakage, and new pin feathers.
- Inspect the preen-gland area at the base of the tail for swelling or discharge without squeezing it.
- Photograph a suspicious area with consistent lighting so change is easier to judge.
Penn State Extension recommends examining the vent area under bright light with the feathers parted when checking for northern fowl mites. Do not apply a pesticide “just in case.” Correct identification, label directions, bird age, egg or meat withdrawal requirements, and environmental treatment all matter.
If you find broken skin, follow Chicken Wound Care. For developing feathers and bleeding shafts, see our guide to pin feathers and broken blood feathers.
Step 6: Check the Crop at the Right Time
The crop sits at the lower front of the neck and changes through the day as the chicken eats. A crop can be normally full in the evening, so timing matters. The most useful routine check is early morning before access to feed; it should have emptied substantially overnight.
Feel gently without squeezing or massaging. Record unexpected fullness, hardness, fluid movement, pendulous enlargement, odor from the mouth, regurgitation, or repeated swallowing. University of Maryland Extension advises checking for crop problems first thing in the morning before birds eat. Do not tip the bird, induce vomiting, or force oil or water; aspiration is a serious risk.
Step 7: Assess the Abdomen and Vent
Keep the chicken upright and support her securely. Look at the abdomen’s symmetry and feel only with light, flat-handed pressure. Stop if she struggles, shows pain, or breathes harder. A tense, enlarged, fluid-feeling, unusually hot, bruised, or painful abdomen needs veterinary assessment; do not squeeze or attempt to manipulate an egg.
- The vent should be free of active bleeding, protruding tissue, injury, heavy crusting, and persistent fecal soiling.
- Check surrounding feathers for lice, mites, eggs, blood, discharge, or pecking damage.
- Note straining, repeated nest-box visits, a penguin-like posture, tail pumping, or reduced droppings.
- Wear gloves and wash hands after any vent examination.
Reproductive emergencies can worsen quickly. Use our egg-binding guide for warning signs, but seek veterinary care rather than repeatedly handling or treating a distressed hen. If droppings have changed, compare them with healthy and unhealthy chicken droppings.
Step 8: Check Wings, Legs, and Feet
Compare the left and right sides. Keep the wing supported while opening it only as far as it moves comfortably. Feel along the bones and joints without pulling, twisting, or testing range of motion against resistance. Note droop, heat, swelling, wounds, bruising, asymmetry, or pain.
- Hocks and legs: compare warmth, joint size, alignment, scales, and strength.
- Shank scales: look for raised, crusty, thickened scales or lesions.
- Toes and nails: check length, alignment, circulation, broken nails, wrapped hair or string, and toe injuries.
- Footpads: inspect for redness, abrasion, swelling, dark scabs, ulcers, or heat.
- Gait: after the check, place the bird on nonslip ground and watch several natural steps.
A dark footpad spot alone does not tell you the depth or severity of a problem. Our bumblefoot guide explains footpad concerns, while the upcoming Why Is My Chicken Limping? guide covers a broader lameness decision path.

Record Findings—Including Normal Findings
A short record is more valuable than memory. Give each bird a consistent name, leg-band number, or other identifier. Record date, time, weather extremes, weight, body condition, egg status, appetite, droppings, respiratory signs, crop finding, parasite check, foot condition, wounds, and actions taken. Save photographs with the same angle and lighting when monitoring a specific area.
| Finding | Record it as |
|---|---|
| No change from baseline | Normal for this bird; include weight and date |
| One mild change without distress | Description, photo, recheck time, and environmental context |
| Persistent or worsening change | Isolate as appropriate and contact a veterinarian |
| Several birds affected | Flock count, shared signs, onset date, egg/feed/water changes, and biosecurity movements |
| Emergency sign | Stop examination, stabilize, call, and prepare transport |

When to Isolate the Chicken
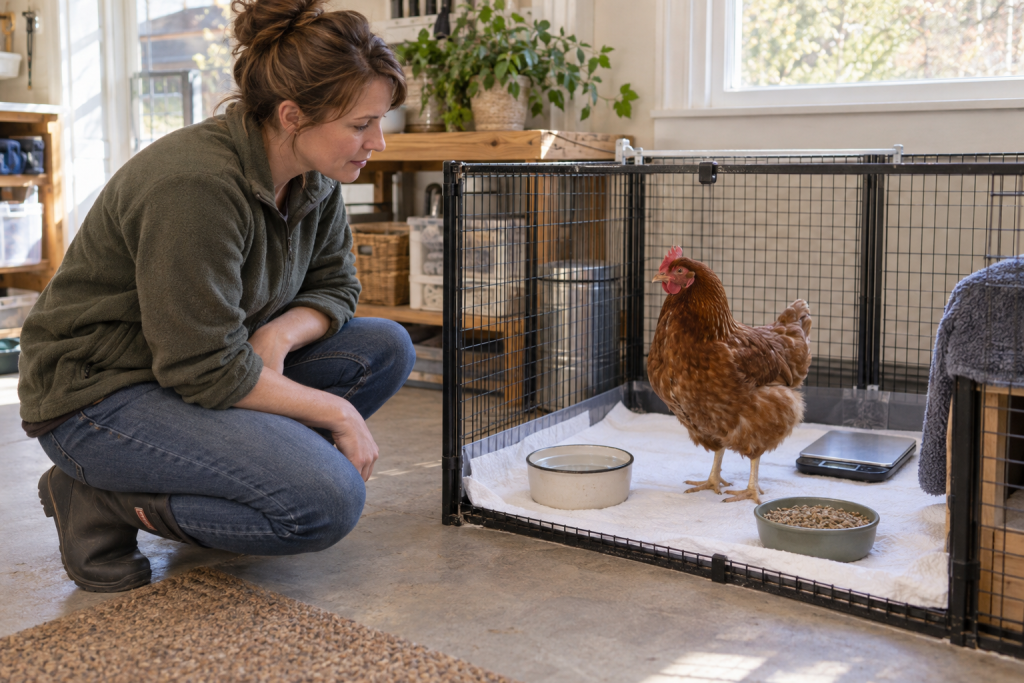
Move a bird to a prepared sick-chicken hospital pen when she needs protection from pecking, restricted activity, individual intake monitoring, or separation while contagious disease is investigated. Use dedicated bowls, footwear, gloves, and cleaning tools, and care for the healthy flock first.
Isolation is supportive management, not a diagnosis. Respiratory signs, neurologic changes, sudden egg-production drops, watery green diarrhea, head swelling, purple discoloration, or unexpected deaths may indicate a reportable flock disease. The USDA advises reporting sudden or significant poultry illness to a veterinarian, State animal-health official, or USDA at 1-866-536-7593.
Red Flags: Stop the Exam and Get Help
- Severe or increasing breathing effort, gasping, blue-purple tissue, or collapse
- Uncontrolled bleeding or a deep, gaping, puncture, bite, or contaminated wound
- Head trauma, seizure, twisted neck, loss of balance, or paralysis
- Open fracture, exposed bone, inability to stand, or severe pain
- Prolapsed tissue, marked abdominal enlargement, persistent straining, or suspected egg emergency
- Repeated regurgitation, a crop that remains abnormally full, or inability to swallow
- Rapid weight loss, profound weakness, or refusal of food and water
- Multiple sick birds, sudden deaths, or a sharp flock-wide production change
Do not force-feed or syringe liquids into a weak, neurologic, regurgitating, or breathing-compromised bird. The upcoming Chicken Not Eating or Drinking guide explains safe observation and escalation without turning appetite loss into a do-it-yourself diagnosis.
Five-Minute Chicken Health-Check Sequence
- Observe the bird walking, eating, interacting, and breathing before capture.
- Prepare supplies and decide whether any emergency sign should stop the exam.
- Catch calmly; support feet and wings without chest pressure.
- Record weight and feel body condition around the keel.
- Inspect head, eyes, nostrils, beak, mouth, comb, and wattles.
- Part feathers to check skin, wounds, pin feathers, and external parasites.
- Check crop timing and feel gently without squeezing.
- Inspect abdomen and vent with minimal pressure.
- Compare wings, legs, joints, toes, nails, and footpads.
- Return the bird to nonslip ground, observe her walk, record findings, and clean equipment.
Frequently Asked Questions
How often should I perform a hands-on health check?
Observe every day and choose a regular hands-on interval that fits your flock, commonly weekly to monthly. Check sooner when behavior, appetite, gait, droppings, feathers, egg production, or social position changes.
What time of day is best?
A quiet time with good light works for most of the exam. Check the crop early in the morning before feeding when you need to confirm that it emptied overnight. Weigh at a consistent time for comparable records.
Should I check every bird if one seems sick?
Start with observation of the entire flock. If several birds share signs, minimize handling and contact a veterinarian because repeated catching can spread contamination and stress the flock. Record how many birds are affected and when signs began.
Can a normal health check rule out disease?
No. A hands-on screening cannot replace diagnostic testing, and some diseases begin before obvious signs appear. Trends, flock history, laboratory testing, and veterinary examination may be needed.
What should I disinfect after the exam?
Remove organic debris from the scale, carrier, work surface, footwear, and reusable tools, then clean and disinfect compatible surfaces according to the product label. Wash hands with soap and running water. Follow the traffic and equipment practices in our backyard chicken biosecurity guide.
Bottom line: observe first, handle safely, follow the same sequence, and record what is normal for each bird. A chicken health check is most powerful when it reveals a trend early—and when you recognize the signs that mean the examination should stop and professional care should begin.